
Table of Contents
The ESP8266 NodeMCU with KY-027 Magic Cup Light is one of the most popular microcontrollers in the maker and IoT communities due to its affordability and built-in Wi-Fi capabilities. When paired with the KY-027 Magic Cup Light module, it opens up a world of interactive lighting projects and tilt-based sensing applications. This guide provides a complete walk-through on how to use the KY-027 with your ESP8266 board.
Understanding the Components
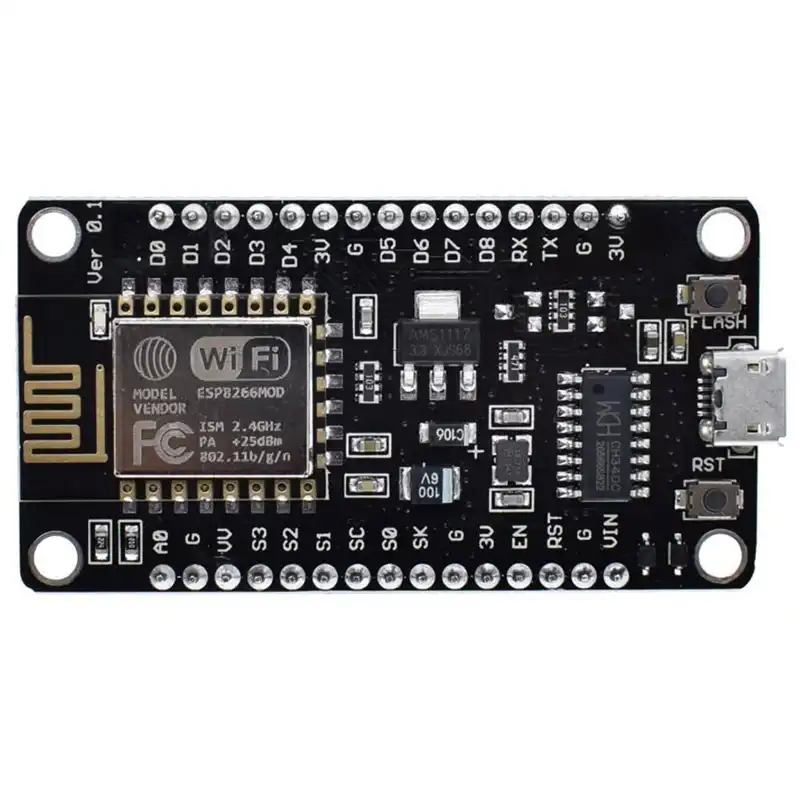
ESP8266 NodeMCU
- Microcontroller with Wi-Fi capability
- Operates at 3.3V
- Programmable using Arduino IDE
- Ideal for IoT projects and automation
For a deeper dive into its specs, refer to the ESP8266 NodeMCU official documentation.
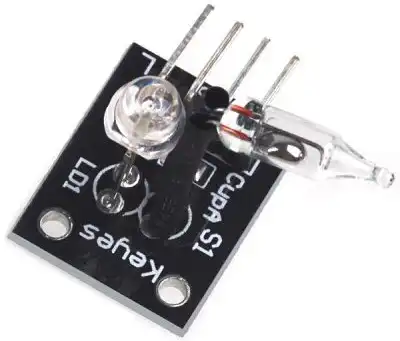
KY-027 Magic Cup Light Module
- Features a mercury tilt switch and an LED
- Activated by changing the module’s orientation
- Commonly used in interactive lighting
You can find detailed specifications in the KY-027 module datasheet.
Technical Specifications
ESP8266 NodeMCU
- 32-bit LX106 microprocessor
- Clock speed: 80 MHz
- Flash memory: 4MB
- GPIO: 17 pins
KY-027 Magic Cup Module
- Operating voltage: 3.3V – 5V
- Outputs digital and analog signals
- Built-in SMD LED for visual indication
Pinout and Wiring
KY-027 Pinout
- VCC: Power supply (3.3V or 5V)
- GND: Ground
- S: Signal output (connected to digital input on NodeMCU)
- L: LED control
Wiring Diagram
- VCC to 3V3 on NodeMCU
- GND to GND
- S to D2 (GPIO4)
- L to D1 (GPIO5)
Tips:
- Double-check power compatibility
- Use resistors if needed to protect components
Programming the ESP8266 NodeMCU
Setting Up the Development Environment
- Install Arduino IDE
- Go to Preferences > Additional Board Manager URLs:
http://arduino.esp8266.com/stable/package_esp8266com_index.json - Install the ESP8266 board via Boards Manager
Writing the Code
#define tiltPin D2
#define ledPin D1

void setup() {
  pinMode(tiltPin, INPUT);
  pinMode(ledPin, OUTPUT);
  Serial.begin(9600);
}

void loop() {
  int tiltState = digitalRead(tiltPin);
  if (tiltState == HIGH) {
    digitalWrite(ledPin, HIGH);
  } else {
    digitalWrite(ledPin, LOW);
  }
  delay(100);
}
Uploading and Testing
- Connect NodeMCU via USB
- Select the correct port and board from the Tools menu
- Upload code and open Serial Monitor
- Tilt the KY-027 to see the LED respond
Practical Applications
Interactive Lighting
- Create decorative lighting that reacts to motion
- Ideal for night lamps or novelty lighting
Motion-Activated Systems
- Use tilt to trigger alerts or control relays
- Combine with Wi-Fi to send notifications
Troubleshooting and FAQs
Common Issues
- KY-027 not responding:
- Check wiring and voltage compatibility
- Ensure correct GPIO pins in code
- ESP8266 upload issues:
- Use correct drivers (CP2102/CH340)
- Press RESET/FLASH buttons during upload
Frequently Asked Questions
Q: How do I calibrate the KY-027 module? A: The KY-027 does not support calibration; it’s a digital switch triggered by tilt.
Q: Can it be used with Arduino Uno? A: Yes, it’s compatible with most 5V and 3.3V microcontrollers.
Q: Is mercury inside the switch dangerous? A: It’s sealed safely but should not be opened. Handle with care.
Q: How can I enhance the LED response? A: Use PWM to control brightness or add delay logic for smoother transitions.
Q: What tilt angle triggers the sensor? A: Generally around 15 to 30 degrees, depending on orientation.
Conclusion
Combining the ESP8266 NodeMCU with the KY-027 Magic Cup Light module is a powerful yet beginner-friendly introduction to sensor-based IoT projects. The KY-027’s simple design—featuring a mercury tilt switch and LED—makes it perfect for learning how to detect motion and orientation, while the ESP8266 brings Wi-Fi connectivity and advanced programmability into the mix.
This project not only teaches you how to interface components and write basic Arduino code, but it also lays the groundwork for building more complex systems such as smart lighting, motion-triggered alerts, and gesture-responsive devices. By adjusting the code and wiring, you can expand the KY-027’s functionality to fit different use cases like ambient lighting, smart toys, or tilt-activated controls.
ESP8266 NodeMCU with KY-027 Magic Cup Light is an ideal starting point for hobbyists, students, and developers exploring DIY electronics or home automation. Want to take it to the next level? You can integrate it with platforms like Home Assistant, Blynk, or even trigger IFTTT routines for remote alerts and automation.
With just a few lines of code and affordable components, you’re already building the future of connected living.
Projects ESP8266 nodemcu :
1- ESP8266 NodeMCU: A Comprehensive Guide to IoT Development
2- Control LED with ESP8266 NodeMCU: A Beginner’s Guide
3- Integrating a Joystick with ESP8266 NodeMCU: A Comprehensive Guide