Table of Contents
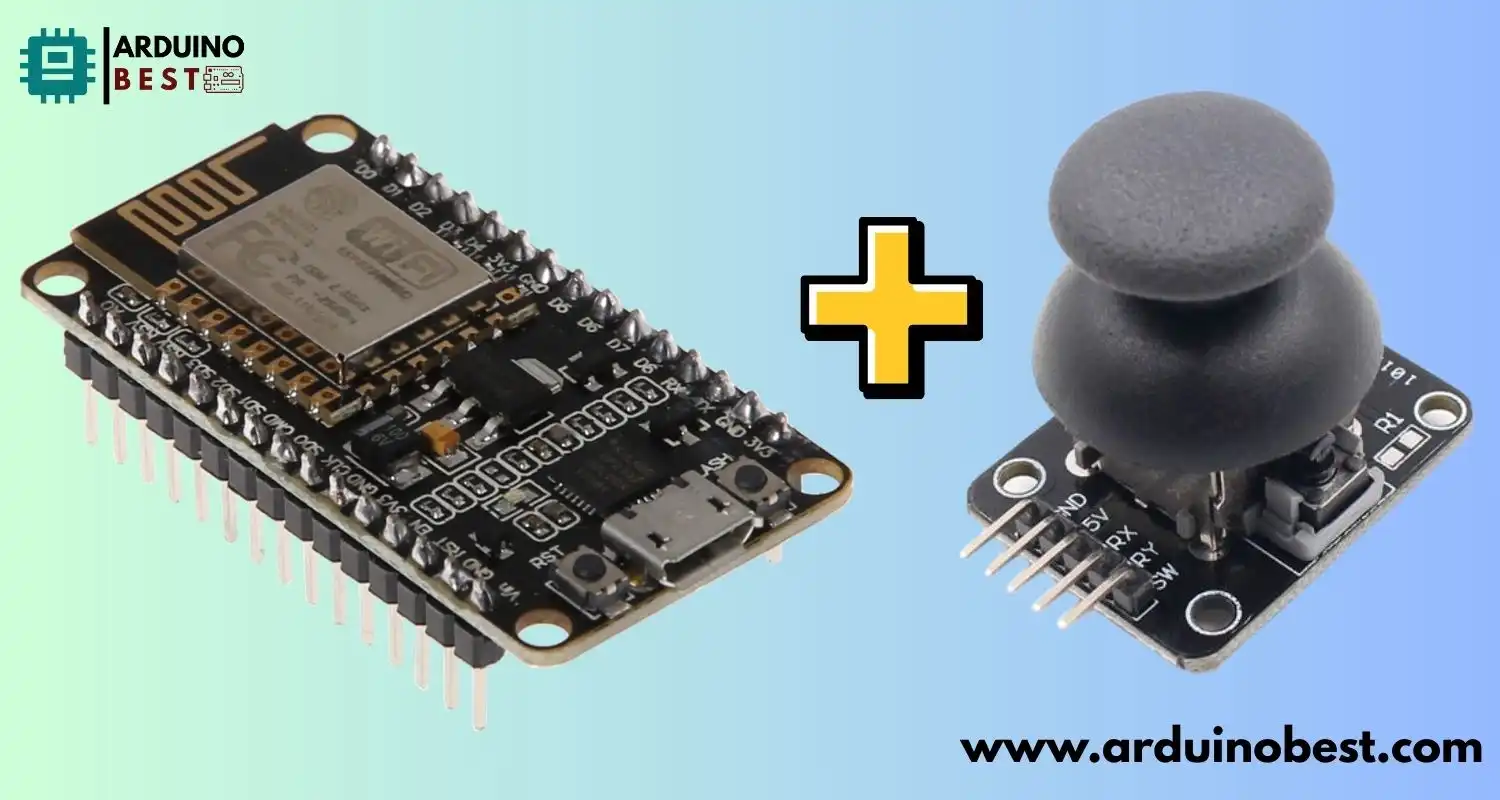
In this guide, we’ll walk you through the process of integrating a joystick with an esp8266 nodemcu with JoyStick, allowing you to create interactive and wireless control systems. The ESP8266 NodeMCU is a powerful, low-cost Wi-Fi microcontroller that can be easily used in various IoT applications. By adding a joystick to this setup, you unlock the ability to control devices remotely and create a wide range of projects.
Whether you’re building a remote control robot, creating a media player interface, or experimenting with IoT applications, adding a joystick to your ESP8266 NodeMCU opens up many possibilities. In this article, we’ll cover the necessary components, hardware setup, and programming, as well as practical applications, troubleshooting tips, and more.
For an in-depth understanding of esp8266 nodemcu with JoyStick and its capabilities, check out this resource on DIYables, which offers a great selection of joystick modules. Additionally, for more insights on connecting joysticks to microcontrollers, refer to Orion Robots’ detailed guide.
Understanding the Components
Before diving into the setup, let’s take a closer look at the key components needed to integrate a joystick with ESP8266 NodeMCU:
1. ESP8266 NodeMCU
- The ESP8266 NodeMCU is an open-source development board featuring a Wi-Fi chip, which allows for easy communication with other devices over the internet.
- Key Specifications:
- 32-bit microcontroller with a clock speed of 80 MHz
- Built-in Wi-Fi support, making it ideal for IoT applications
- Easily programmable using the Arduino IDE or similar environments
For more details on configuring the ESP8266 NodeMCU in your development environment, you can follow step-by-step tutorials available on various platforms, like Instructables.
2. Joystick Module
- Joysticks are input devices used to control direction or movement. There are two main types of joystick modules:
- 2-Axis Analog Joystick: This type of joystick has two potentiometers to measure horizontal and vertical movements, and it outputs analog signals.
- 5D Joystick: This type includes additional buttons, providing more functionality for complex projects.
Both types are compatible with the ESP8266 NodeMCU, and the choice depends on your project’s requirements. You can find various joystick modules designed for ESP8266 integration.
Setting Up the Development Environment
1. Installing the Arduino IDE
To get started with programming the ESP8266 NodeMCU, you’ll need the Arduino IDE. Here’s how to set it up:
- Download the latest version of the Arduino IDE from the official website.
- Install the software on your computer following the provided instructions.
2. Configuring the ESP8266 Board in the Arduino IDE
After installing the Arduino IDE, you must configure it to recognize the ESP8266 NodeMCU board. Here’s a quick guide:
- Open the Arduino IDE, go to File > Preferences.
- Add the following URL to the Additional Boards Manager URLs:
http://arduino.esp8266.com/stable/package_esp8266com_index.json. - Then, go to Tools > Board and select NodeMCU 1.0 (ESP-12E Module).
3. Setting Up Necessary Libraries
To read data from the joystick and interact with the ESP8266, you’ll need to install a few libraries:
- ESP8266WiFi: This library helps with connecting the ESP8266 to a Wi-Fi network.
- Joystick: This library helps you easily interface the joystick with the ESP8266.
Hardware Connections

Connecting a 2-Axis Analog Joystick
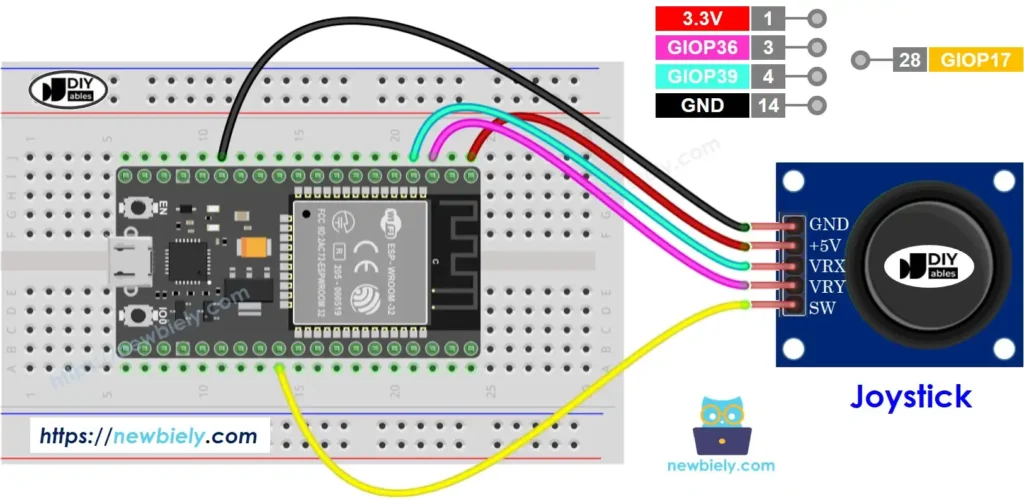
Here’s how to wire a 2-axis analog joystick to the ESP8266 NodeMCU:
- VCC Pin: Connect to the 3.3V pin on the ESP8266.
- GND Pin: Connect to the GND pin on the ESP8266.
- X-Axis Pin: Connect to an analog input pin (e.g., A0) on the ESP8266.
- Y-Axis Pin: Connect to another analog input pin (e.g., A1).
Connecting a 5D Joystick Module
For a 5D joystick, the wiring is slightly more involved:
- VCC and GND Pins: Connect to 3.3V and GND on the ESP8266, respectively.
- X, Y, and Z Axes: Connect each axis to analog input pins on the ESP8266.
- Buttons: Connect the button pins to digital input pins on the ESP8266.
Programming the ESP8266 NodeMCU
1. Reading Analog Values from the Joystick
You can read the joystick’s X and Y values using the analogRead() function:
cppCopyEditint xValue = analogRead(A0);
int yValue = analogRead(A1);
This will return a value between 0 and 1023, depending on the joystick’s position.
2. Handling Button Presses
Use digitalRead() to check if any buttons on the joystick are pressed:
cppCopyEditint buttonState = digitalRead(D2);
if (buttonState == HIGH) {
  // Button is pressed
}
3. Wireless Communication Setup
Set up Wi-Fi connectivity on the ESP8266 NodeMCU using the following code:
cppCopyEdit#include <ESP8266WiFi.h>

const char* ssid = "your_SSID";
const char* password = "your_PASSWORD";

void setup() {
  WiFi.begin(ssid, password);
  while (WiFi.status() != WL_CONNECTED) {
    delay(1000);
  }
}
4. Integrating with External Systems
You can send joystick data wirelessly to external systems using HTTP or MQTT protocols. Here’s an example of sending data to a web server via HTTP:
cppCopyEditWiFiClient client;
const char* server = "http://your_server.com/joystick_data";

void loop() {
  if (client.connect(server, 80)) {
    client.print("GET /update?x=");
    client.print(xValue);
    client.print("&y=");
    client.print(yValue);
    client.println(" HTTP/1.1");
    client.println("Host: your_server.com");
    client.println("Connection: close");
    client.println();
  }
}
Practical Applications
Wireless Joystick for Remote Control
By connecting your ESP8266 NodeMCU and joystick to a Wi-Fi network, you can control various devices remotely. A common application is controlling a robot via joystick input.
Integrating with IoT Platforms
You can integrate joystick data into platforms like Blynk, which allows you to create custom interfaces and control devices from a smartphone. This can be an exciting way to bring interactivity to your IoT projects.
Case Study: Joystick-Controlled Car
Imagine controlling a car with a joystick over Wi-Fi. With the ESP8266 NodeMCU, you can achieve this by reading the joystick’s X and Y values and sending them to a motor controller.
Troubleshooting and Optimization
Common Issues
- Connectivity Problems: Make sure your ESP8266 NodeMCU is within range of your router and that you’re using the correct credentials for Wi-Fi connection.
- Unresponsive Joystick: Check the wiring and ensure the analog and digital inputs are properly connected.
Optimizing Performance
To improve the joystick’s response time, use debouncing techniques to handle button presses and analog filtering to smooth out the joystick’s readings.
Advanced Features
Implementing Multiple Joysticks
If your project requires controlling multiple devices or complex inputs, consider adding multiple joysticks. Each joystick can control different parts of the system, such as motors or cameras.
Adding Feedback Mechanisms
You can enhance the joystick interface by adding feedback mechanisms like vibrating motors or LED indicators that react to joystick input.
Security Considerations
When transmitting joystick data over Wi-Fi, ensure the data is encrypted using protocols like HTTPS or MQTT with TLS to prevent unauthorized access.
FAQs
- Can I use a USB joystick with the ESP8266 NodeMCU?
- ESP8266 doesn’t have native USB host support, so you can’t directly use a USB joystick. However, you can use an analog joystick module.
- How do I calibrate the joystick inputs?
- You can calibrate the joystick by mapping the raw analog values to a desired range using the map() function in Arduino.
- Is it possible to use the ESP8266 as a gamepad for a PC?
- While ESP8266 isn’t designed to emulate a USB gamepad, there are workarounds using libraries to send joystick data via Bluetooth or Wi-Fi.
- What is the maximum range for wireless joystick control?
- The range depends on your Wi-Fi setup, but in general, it’s limited to the coverage area of your router.
- Can I use the joystick to control multiple devices simultaneously?
- Yes, you can broadcast joystick input to multiple receivers using protocols like MQTT or HTTP.
Conclusion
In conclusion, integrating a joystick with the ESP8266 NodeMCU is a powerful way to enhance your wireless control systems, enabling you to create a wide range of interactive and innovative projects. The process is relatively simple and can be achieved with the right components and software setup. Whether you’re looking to control robots, build IoT applications, or explore advanced features like multiple joysticks and feedback mechanisms, the ESP8266 NodeMCU offers an ideal platform due to its low cost, compact size, and Wi-Fi capabilities.
By following the step-by-step guide provided, you’ll not only learn the technical aspects of wiring and programming but also discover how to expand your projects with additional features like security and optimization techniques. The flexibility of the ESP8266 NodeMCU allows for endless possibilities, from creating a basic remote control system to developing complex, multi-device applications.
As you continue to experiment and refine your projects, integrating a joystick with ESP8266 NodeMCU offers a practical and creative solution for building wireless devices that can be controlled remotely. Whether for personal projects or professional prototypes, this integration opens doors to innovative, user-friendly control interfaces in the world of IoT and beyond.
Projects ESP8266 nodemcu :
1- ESP8266 NodeMCU: A Comprehensive Guide to IoT Development

