
Table of Contents
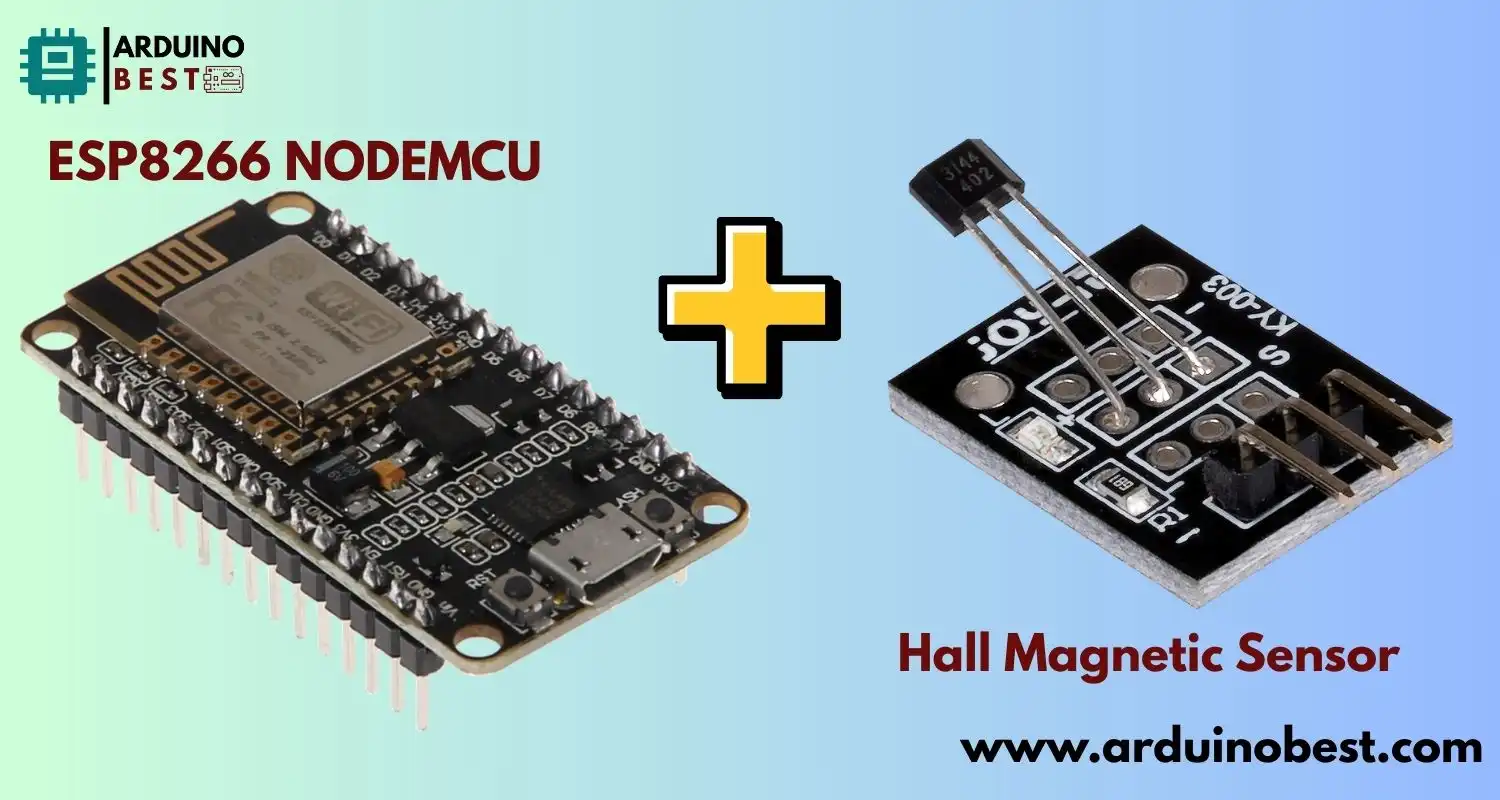
The ESP8266 NodeMCU with Hall Magnetic Sensor has become a cornerstone in the world of IoT and embedded systems. Its ease of use, built-in WiFi capabilities, and flexible GPIO configuration make it ideal for interfacing with various sensors — including the Hall Magnetic Sensor.
In this guide, you’ll learn how to integrate a Hall Magnetic Sensor with the ESP8266 NodeMCU, explore real-world applications, and write your own programs for magnetic field detection.
What is the ESP8266 NodeMCU?
The ESP8266 NodeMCU is a low-cost microcontroller with built-in WiFi, designed for IoT applications. Some of its key features include:
- 80 MHz processor speed (up to 160 MHz)
- 11 GPIO pins
- Integrated TCP/IP protocol stack
- USB-to-Serial communication
If you’re new to NodeMCU, here’s a great introduction to ESP8266 NodeMCU that will help you get started.
Understanding Hall Magnetic Sensors
A Hall Effect Sensor detects magnetic fields and converts them into electrical signals. It works on the principle that when a magnetic field is applied perpendicular to a conductor carrying current, a voltage is generated across the conductor.
There are two main types of Hall sensors:
- Analog Hall Sensors
- Digital Hall Sensors
These are widely used in:
- Proximity sensing
- Speed detection
- Position detection
If you’re looking for a deeper explanation, this Hall sensor tutorial gives an excellent technical breakdown.
Components You Need
To complete this project, gather the following components:
- 1 x ESP8266 NodeMCU
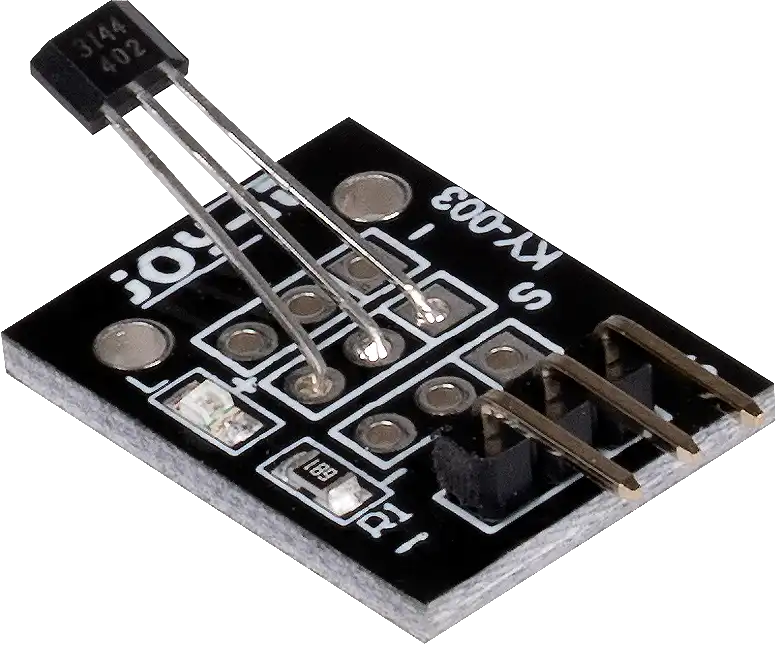
- 1 x Hall Magnetic Sensor (A3144 or similar)
- Jumper wires
- Breadboard
Circuit Diagram and Wiring
Connect the components as follows:
- Hall sensor VCC to NodeMCU 3.3V
- Hall sensor GND to NodeMCU GND
- Hall sensor OUT to NodeMCU D2 (GPIO4)
Programming the ESP8266 NodeMCU
To get started, you’ll need:
- Arduino IDE
- ESP8266 board package installed
Here’s a simple example to detect magnetic field presence:
const int hallPin = 4; // GPIO4 (D2)

void setup() {
  pinMode(hallPin, INPUT);
  Serial.begin(9600);
}

void loop() {
  int state = digitalRead(hallPin);
  if (state == LOW) {
    Serial.println("Magnet Detected");
  } else {
    Serial.println("No Magnet");
  }
  delay(500);
}
Processing Sensor Data
Sensor readings may fluctuate due to:
- Electrical noise
- Sensor sensitivity
To improve accuracy:
- Use software debouncing
- Add small capacitors for hardware debouncing
- Implement averaging or smoothing algorithms
Real-World Applications
Here are some interesting projects you can build:
- Wireless Door Sensor – Attach a magnet to a door and detect open/close events using NodeMCU.
- Tachometer for Motor RPM – Place the magnet on a spinning part and count revolutions.
- Smart Water Flow Meter – Detect flow by counting magnetic pulses from a water meter.
Here’s a real-world project for building a wireless entry sensor using NodeMCU.
Common Issues and Troubleshooting
- Power Problems: Ensure you power the Hall sensor with 3.3V if using ESP8266.
- Incorrect GPIO Usage: Double-check pin mappings and avoid reserved pins.
- Interference: Use shielded wires or physical separation from power lines.
FAQs
How do I power the Hall sensor with ESP8266 NodeMCU?
- Use the 3.3V output on the NodeMCU to safely power the sensor.
Can I use multiple Hall sensors with a single ESP8266?
- Yes, as long as you have enough GPIO pins available.
What is the maximum sensing distance?
- Typically a few millimeters, depending on the sensor and magnet strength.
How to calibrate the Hall sensor?
- Use trial and error with magnet placement; advanced calibration requires precise analog readings.
Is it possible to use analog Hall sensors with ESP8266?
- Yes, the ESP8266 has one ADC input for reading analog signals.
Conclusion
Combining the ESP8266 NodeMCU with a Hall Magnetic Sensor unlocks countless opportunities for wireless sensing and real-time data monitoring. This versatile and cost-effective setup is ideal for a wide range of applications, from simple smart home automation systems to more complex industrial use-cases. The ESP8266’s WiFi capabilities allow for seamless integration with other devices and networks, while the Hall Magnetic Sensor offers precise detection of magnetic fields, making it perfect for tasks such as proximity sensing, speed detection, and position tracking.
By leveraging the ESP8266 NodeMCU with a Hall Magnetic Sensor, you can build innovative projects like smart door sensors, tachometers, or even wireless flow meters. With the detailed steps provided, you’ll have a solid understanding of how to wire, program, and troubleshoot this powerful combination. The integration of these components not only expands your technical skills but also allows you to create practical solutions for everyday challenges.
Whether you’re a beginner or an experienced maker, this setup provides a solid foundation for exploring the world of IoT and embedded systems. With endless possibilities for innovation, the ESP8266 NodeMCU and Hall Magnetic Sensor offer a fantastic starting point for your next project.
Projects ESP8266 nodemcu :
1- ESP8266 NodeMCU: A Comprehensive Guide to IoT Development
2- Control LED with ESP8266 NodeMCU: A Beginner’s Guide
3- Integrating a Joystick with ESP8266 NodeMCU: A Comprehensive Guide
4- esp8266 nodemcu with Flame Sensor