Table of Contents
Introduction
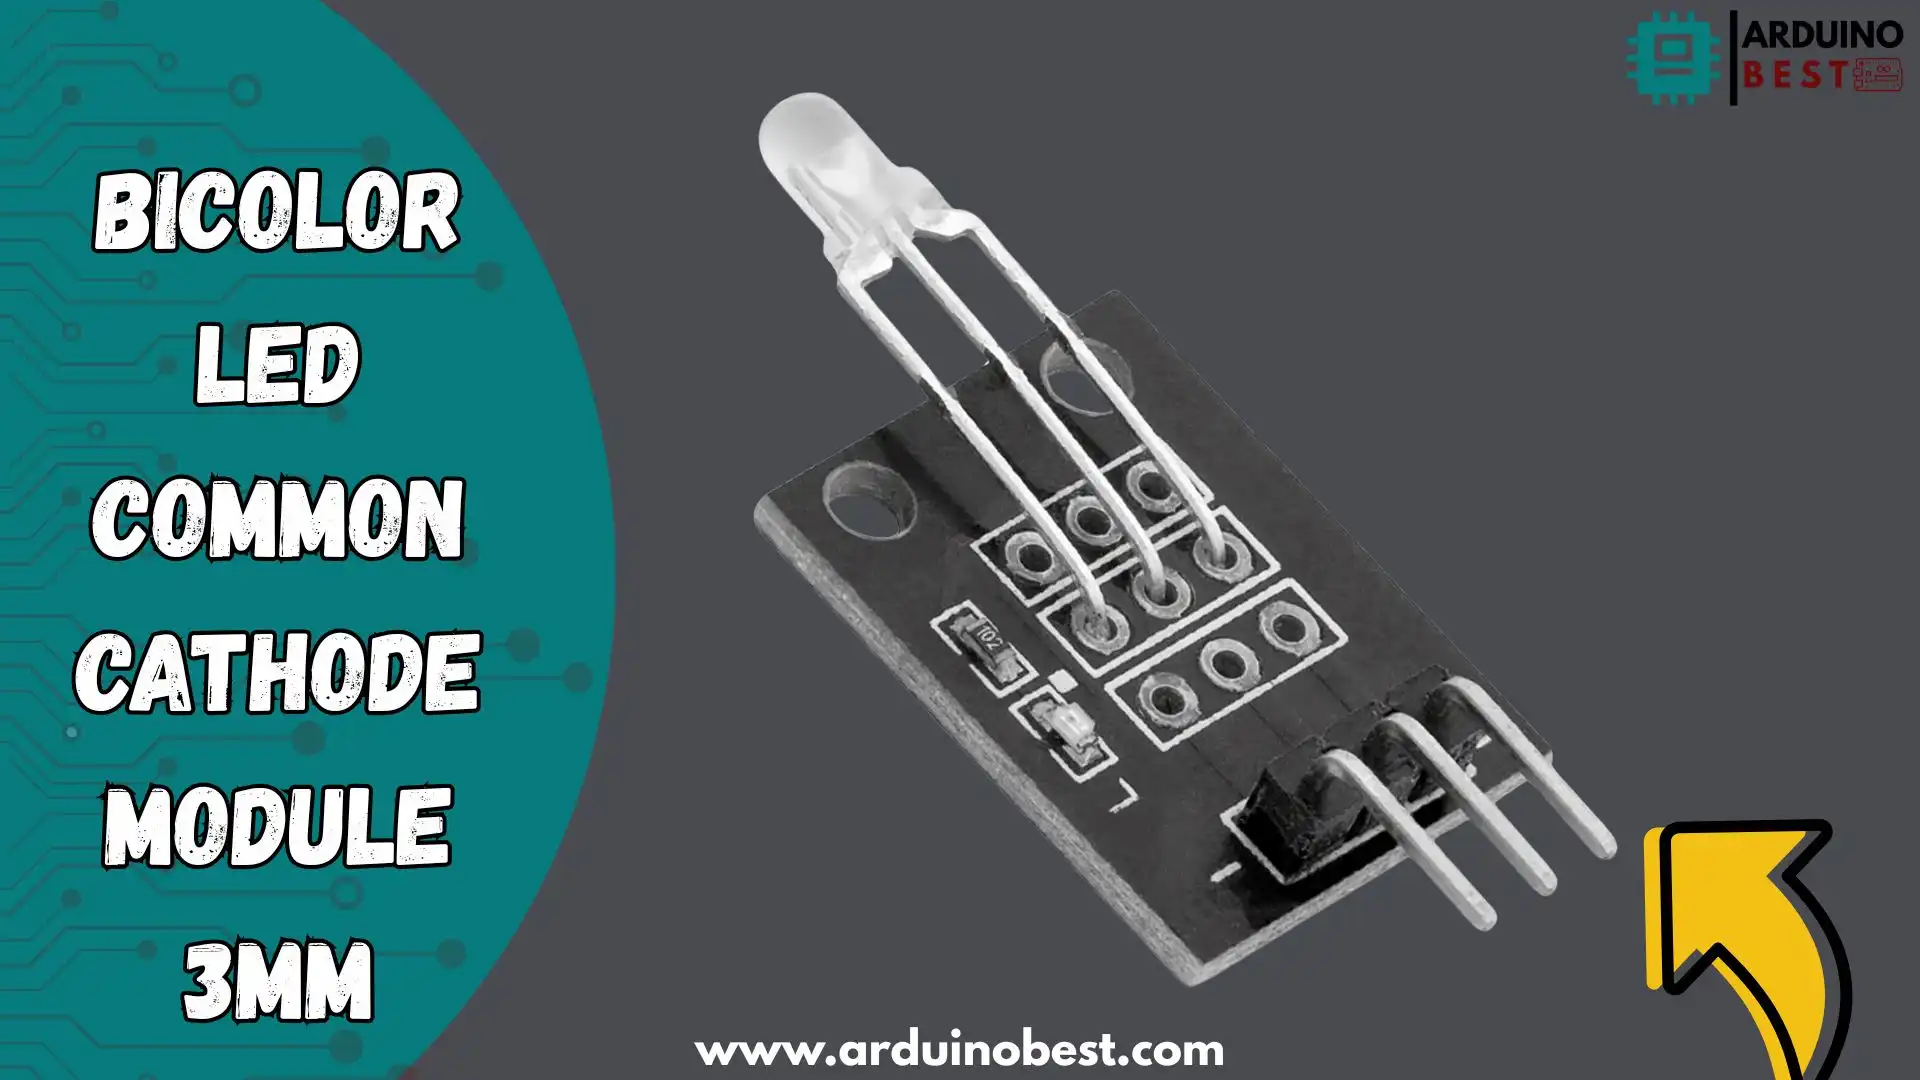
In the realm of electronics, Bicolor LED common cathode module 3MM offer a versatile solution for indicating multiple states within a single component. The 3mm Bicolor LED Common Cathode Module is particularly popular due to its compact size and dual-color functionality, making it ideal for various applications, from simple indicators to complex display systems.
Understanding Bicolor LEDs
A bicolor LED integrates two distinct light-emitting diodes within a single package, typically emitting red and green light. By controlling the current flow to each diode, these LEDs can display either color independently or combine them to produce a third color, such as yellow or orange.
Common Cathode vs. Common Anode Configurations
Bicolor LEDs are available in two primary configurations:
- Common Cathode: Both diodes share a common negative (cathode) terminal, with separate positive (anode) terminals for each color.
- Common Anode: Both diodes share a common positive (anode) terminal, with separate negative (cathode) terminals for each color.Sharvie Electronics+3SensorKit+3mechatronics-store.com+3
The common cathode configuration is often preferred for its straightforward integration with microcontrollers and other digital circuits.
Specifications of the 3MM Bicolor LED Common Cathode Module
Understanding the technical specifications is crucial for effective utilization:
- Physical Dimensions: 3mm diameter, suitable for compact designs.Switch Electronics+1ArduinoModulesInfo+1
- Emitting Colors: Red and Green.steps2make.com+5Sharvie Electronics+5ArduinoModulesInfo+5
- Lens Type: Typically available with a diffused lens for uniform light distribution.SensorKit+8Farnell+8Evelta+8
- Forward Voltage:
- Red: Approximately 2.0V.Switch Electronics+7mechatronics-store.com+7SensorKit+7
- Green: Approximately 2.1V.
- Forward Current: Standard operating current is around 20mA per diode.eBay+7eBay+7mechatronics-store.com+7
- Luminous Intensity:
- Red: Approximately 350mcd.Switch Electronics
- Green: Approximately 90mcd.Switch Electronics
For a detailed datasheet, refer to 3mm Bi-Color LED Datasheet.
Internal Structure and Pin Configuration
The 3mm Bicolor LED Common Cathode Module consists of three pins:
- Common Cathode (Ground): The central pin serves as the shared negative terminal.
- Anode for Red LED: One of the side pins controls the red diode.
- Anode for Green LED: The other side pin controls the green diode.
Proper identification of these pins is essential for correct circuit integration.
Working Principle
In the common cathode configuration, the central cathode pin connects to the ground. Applying a positive voltage to the red anode pin illuminates the red LED, while applying it to the green anode pin lights up the green LED. Activating both anodes simultaneously results in a combined color output, typically perceived as yellow or orange.
Applications of the 3MM Bicolor LED Module
This module finds applications in various fields:
- Indicator Lights: Used in consumer electronics to display different statuses.SensorKit
- Status Indicators: Employed in industrial equipment to signify operational states.
- Signal Representation: Utilized in communication devices for signaling purposes.
- Educational Projects: Ideal for teaching electronics concepts and prototyping.
- DIY Projects: Popular among hobbyists for custom electronics designs.
Integrating with Microcontrollers
To interface the 3mm Bicolor LED Common Cathode Module with microcontrollers like Arduino, follow these steps:
- Connections:
- Connect the common cathode pin to the ground (GND) of the Arduino.
- Attach the red anode pin to a digital output pin (e.g., Pin 9) via a current-limiting resistor (e.g., 330Ω).
- Connect the green anode pin to another digital output pin (e.g., Pin 10) through a similar resistor.
- Code Implementation:
const int redPin = 9;
const int greenPin = 10;

void setup() {
  pinMode(redPin, OUTPUT);
  pinMode(greenPin, OUTPUT);
}

void loop() {
  digitalWrite(redPin, HIGH);   // Red ON
  digitalWrite(greenPin, LOW);  // Green OFF
  delay(1000);                  // Wait 1 second

  digitalWrite(redPin, LOW);    // Red OFF
  digitalWrite(greenPin, HIGH); // Green ON
  delay(1000);                  // Wait 1 second

  digitalWrite(redPin, HIGH);   // Red ON
  digitalWrite(greenPin, HIGH); // Green ON (Combined Color)
  delay(1000);                  // Wait 1 second
}
This setup allows control over each LED individually and in combination.Railway Scenics+9Arduino Forum+9SensorKit+9
Pulse Width Modulation (PWM) for Color Mixing
Utilizing PWM enables the adjustment of each LED’s brightness, facilitating the creation of intermediate colors. By varying the duty cycle of the PWM signals sent to each anode, a spectrum of colors can be achieved.
For instance, to create an amber hue:
- Set the red LED to 100% brightness.
- Set the green LED to 50% brightness.
Implementing this in code involves using the analogWrite
Conclusion
The Bicolor LED Common Cathode Module 3MM is a compact yet powerful component that adds both visual clarity and interactive feedback to any electronics project. With its ability to emit two distinct colors—typically red and green—from a single 3mm LED, this module offers flexibility and space-saving benefits ideal for DIY builds, educational kits, and even commercial applications.
Thanks to its common cathode configuration, controlling the LED using microcontrollers like Arduino or Raspberry Pi becomes straightforward, allowing for precise signaling and creative light displays. Its ease of wiring, low power consumption, and durable design make it a staple in indicator systems, status displays, and basic traffic light simulations.
Whether you’re a hobbyist experimenting with LED logic or a professional integrating compact indicators into a product, this module stands out for its simplicity and effectiveness. Understanding how to wire and program the module opens up a wide range of possibilities for dynamic visual cues and status monitoring.
By incorporating this module into your next project, you’re not only gaining a reliable visual indicator but also enhancing the overall user experience and interactivity of your design.
Arduino Projects:
1- Complete Guide for DHT11/DHT22 Humidity and Temperature Sensor With Arduino
2- DHT11 – Temperature and Humidity Sensor
3- DHT22 – Temperature and Humidity Sensor (more accurate than DHT11)
4- BMP180 – Barometric Pressure and Altitude Sensor
5- BMP280 – Barometric Pressure & Temperature Sensor
6- BME280 – Temperature, Humidity, and Pressure Sensor
7- Arduino Flex Sensor Controlled Robot Hand
8- Arduino ECG Heart Rate Monitor AD8232 Demo
9- Arduino NRF24L01 Wireless Joystick Robot Car
10- Arduino Force Sensor Anti-Theft Alarm System
11- Arduino NRF24L01 Transceiver Controlled Relay Light
12- Arduino Rotary Encoder Controlled LEDs: A Complete Guide

