
Table of Contents
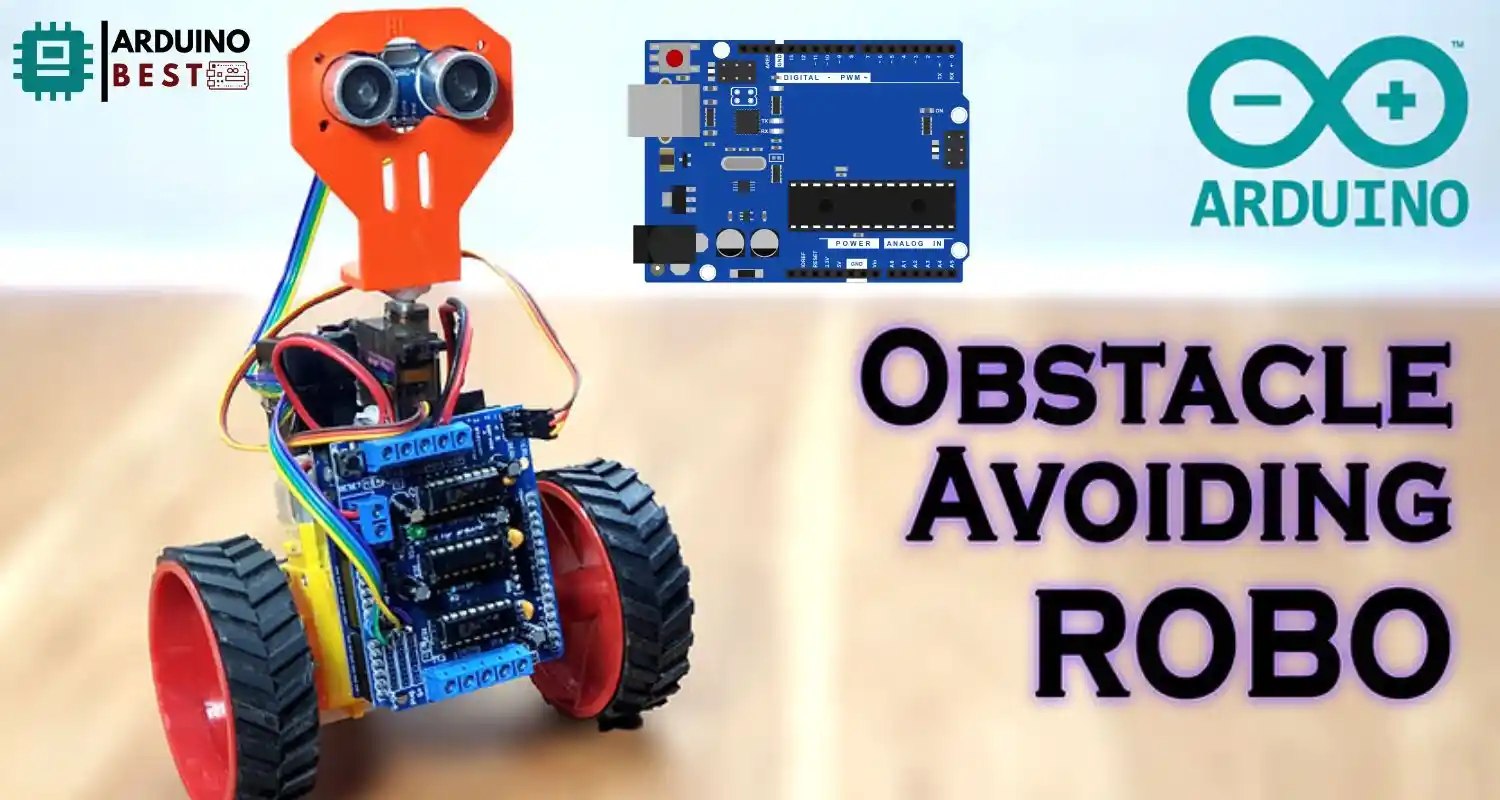
Creating an Arduino-based obstacle avoiding robot is one of the most engaging and practical projects for beginners in robotics. This DIY task is not only educational but also lays the foundation for more complex automation systems. By using components like the Arduino UNO, HC-SR04 ultrasonic sensor, and L298N motor driver, you can build a smart robot that detects and avoids obstacles on its path.
This guide will walk you through everything you need to know—from understanding the parts to assembling the hardware, coding, and upgrading your robot. Whether you’re a student, hobbyist, or aspiring engineer, this tutorial will help you grasp key robotics and Arduino concepts.
To get a comprehensive view of Arduino hardware, you can check out the Arduino Official Website. For practical implementation, a visual, step-by-step tutorial is also available on Instructables, which complements this written guide.
Components Required
Here are the main components you will need to build your Arduino obstacle avoiding robot:
- Arduino UNO board
- HC-SR04 ultrasonic sensor
- L298N motor driver module
- 2x DC motors with wheels
- Robot chassis (can be a ready-made or custom platform)
- Jumper wires
- Battery pack (9V or 12V, depending on motor requirements)
- Breadboard (optional)
- Servo motor (optional for enhanced detection range)
Understanding Each Component
- Arduino UNO: The central controller of the robot, it processes data from sensors and sends commands to motors.
- HC-SR04 Ultrasonic Sensor: Measures distance using sound waves and helps the robot detect obstacles.
- L298N Motor Driver: Interfaces between the Arduino and the DC motors, allowing speed and direction control.
- DC Motors: Propel the robot forward or turn it in different directions.
- Chassis and Wheels: Form the body and movement base of your robot.
- Battery Pack: Supplies power to the entire system.
To better understand the motor driver, refer to the Adafruit L298N Motor Driver Tutorial. For detailed specs on the HC-SR04 sensor, see the SparkFun Ultrasonic Sensor Guide.
Assembling the Robot
To build the structure of the robot:
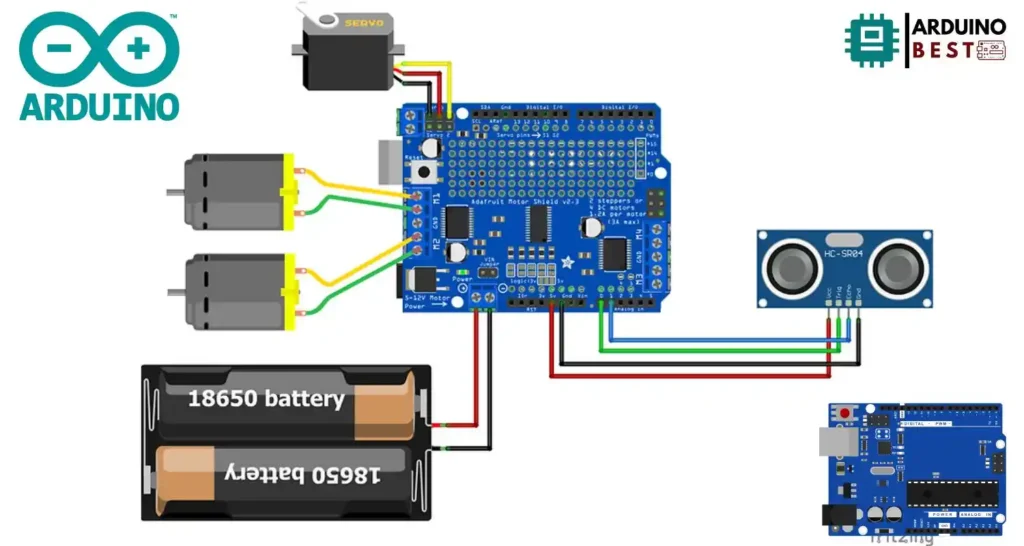
- Attach the DC motors to the chassis securely using screws or glue.
- Mount the Arduino UNO on the top of the chassis with spacers or tape.
- Connect the DC motors to the L298N motor driver output pins.
- Wire the motor driver to the Arduino (IN1–IN4, ENA, ENB pins).
- Connect the HC-SR04 sensor to the front of the robot.
- Wire the sensor to the Arduino (VCC, GND, TRIG, and ECHO).
- Power everything using a battery pack connected through the motor driver.
Make sure your connections are tight, and always double-check your wiring to prevent short circuits.
Writing the Code
Here’s how to program your robot:
- Define Pins: Assign Arduino pins for the ultrasonic sensor and motor driver.
- Initialize Variables: Set variables for distance measurement and motor control.
- Read Sensor: Use pulseIn() function to read time taken by ultrasonic pulses.
- Calculate Distance: Convert the time into distance using speed of sound.
- Set Movement Conditions:
- If the distance is greater than 15 cm, move forward.
- If the distance is less than 15 cm, stop and turn.
Basic code logic (in simplified form):
digitalWrite(motor1, HIGH);
digitalWrite(motor2, LOW);
// Robot moves forward

if (distance < 15) {
  digitalWrite(motor1, LOW);
  digitalWrite(motor2, LOW);
  delay(500);
  digitalWrite(motor1, LOW);
  digitalWrite(motor2, HIGH); // Turn
}
Test frequently and adjust parameters as needed for smooth behavior.
Testing and Calibration
Before running your robot in real conditions:
- Test indoors on a flat surface with various obstacles.
- Observe how quickly the robot reacts to objects.
- Adjust the delay and turning speed for better performance.
- Make sure the sensor is tightly secured and angled correctly.
Calibration helps in minimizing false detections and improves the obstacle avoidance algorithm’s reliability.
Enhancements and Modifications
Once the basic version works, consider the following upgrades:
- Add a Servo Motor: Mount the ultrasonic sensor on a servo to scan left and right.
- Use Multiple Sensors: Add side or rear sensors for full environment awareness.
- Improve Algorithms: Add smoother turning angles or priority-based pathfinding.
- Bluetooth Control: Integrate a Bluetooth module for remote manual control.
- Line-Following Integration: Combine with IR sensors for a multi-functional robot.
Real-World Applications
Obstacle avoiding robots have applications in:
- STEM education and project-based learning
- Prototypes for autonomous delivery or cleaning bots
- Research in swarm robotics or AI navigation
- Entry-level robotics competitions
These robots serve as a base model for more intelligent and commercial-grade solutions.
FAQs
What is an obstacle-avoiding robot?
An autonomous robot that uses sensors to detect and navigate around objects without human input.
Can I use other sensors besides the HC-SR04?
Yes, you can use IR sensors, LiDAR, or even vision systems depending on the complexity required.
Why isn’t my robot turning correctly?
Check motor connections and code logic. Unequal motor speeds or incorrect wiring can cause this issue.
How do I ensure obstacle detection in all directions?
Use a rotating ultrasonic sensor on a servo or add more fixed sensors around the chassis.
What are advanced features I can implement later?
Bluetooth control, Wi-Fi integration, path mapping with GPS, and voice commands are great additions.
Conclusion
Building an Arduino Simple Obstacle Avoiding ROBO is a rewarding experience that enhances your understanding of electronics, coding, and robotics. With just a few affordable components and some patience, you can create a robot that mimics the basics of autonomous vehicle behavior.
For a visual reference, follow this YouTube Tutorial to complement your build process. Stay curious, and keep building smarter robots.