
Table of Contents
Introduction
Fire detection is one of the most critical aspects of ensuring safety, both at home and in industrial settings. Traditional systems can be expensive and complex, but with Arduino and a flame sensor, you can build a cost-effective fire detection system easily.
Arduino flame sensors allow hobbyists, engineers, and makers to create smart, responsive fire alarms that are adaptable and customizable to different environments. In this guide, we will explore everything you need to know about using an Arduino flame sensor to build an efficient fire detector.
Understanding Flame Sensors
What is a Flame Sensor?
A flame sensor is a module that detects the presence of fire or flame through the light it emits. Specifically, it detects infrared light between 760nm and 1100nm, which is typically emitted by flames.
There are several types of flame sensors:
- Infrared (IR) flame sensors
- Ultraviolet (UV) flame sensors
- Visible light flame detectors
How Do Flame Sensors Work?
Flame sensors operate by recognizing the unique light signatures produced by a fire. When flames emit infrared radiation, the sensor picks it up and sends signals to the microcontroller, such as an Arduino, to trigger actions like sounding an alarm or sending a notification.
For a deeper technical breakdown of how these sensors function, you can refer to this Arduino Flame Sensor Guide.
Applications of Flame Sensors
Flame sensors are used in various fields, such as:
- Fire detection systems
- Industrial safety setups
- Home automation for fire alarms
To see a practical example of flame sensor application, check out this DIY Fire Detection Project.
Arduino and Flame Sensor Integration
Why Use Arduino with Flame Sensors?
Using an Arduino with a flame sensor offers many advantages:
- Easy prototyping and flexibility
- Low-cost implementation
- Wide community support with extensive tutorials
Required Components
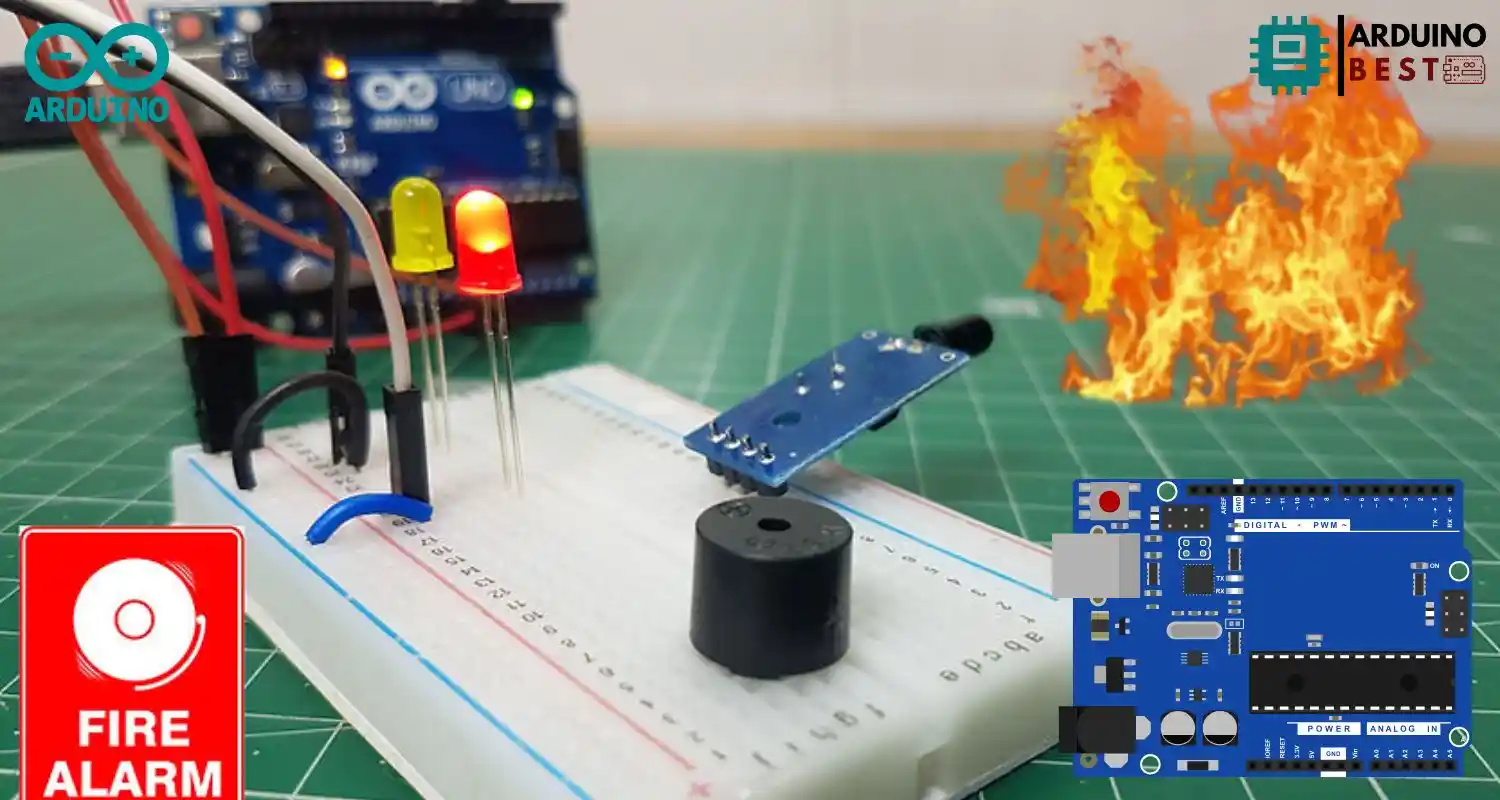
To set up a fire detection system, you will need:
- Arduino board (UNO, Nano, etc.)
- Flame sensor module
- Buzzer
- LEDs
- Jumper wires
- Resistors
- Breadboard
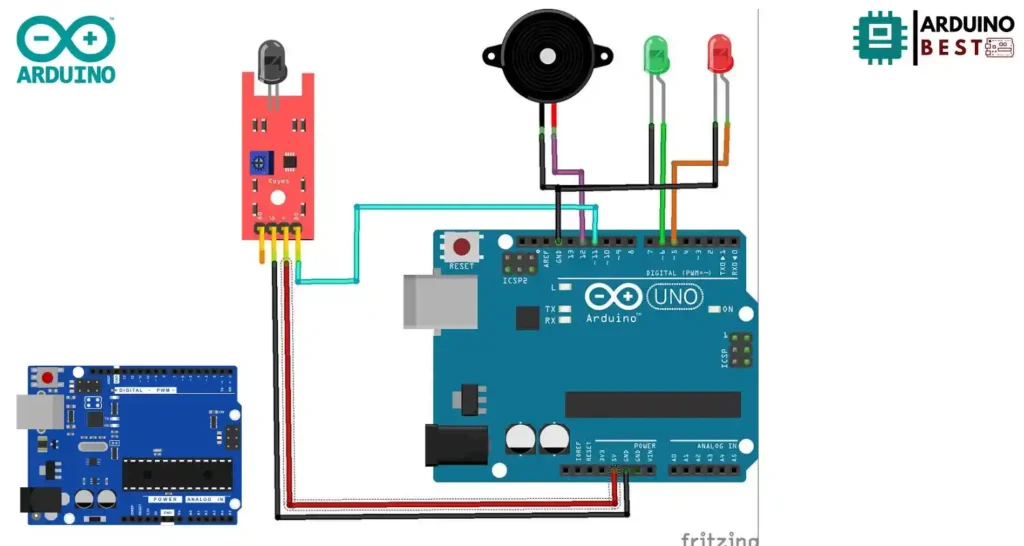
Circuit Diagram and Connections
- Connect the flame sensor’s VCC to Arduino’s 5V
- GND to GND
- Digital output pin of the sensor to any digital input pin on the Arduino (e.g., D2)
Analog output can also be used if you want to measure flame intensity.
Arduino Code Explanation
The Arduino code is straightforward:
- Read sensor input
- If flame detected, activate buzzer and LEDs
- Optional: Send data via serial monitor for debugging
code
const int buzzerPin = 12;
const int flamePin = 11;
int Flame = HIGH;
int redled = 5;
int greenled = 6;
void setup()
{
  pinMode(buzzerPin, OUTPUT);
  pinMode(redled, OUTPUT);
  pinMode(greenled, OUTPUT);

  pinMode(flamePin, INPUT);
  Serial.begin(9600);
}

void loop()
{
  Flame = digitalRead(flamePin);
  if (Flame== LOW)
  {
    digitalWrite(buzzerPin, HIGH);
    digitalWrite(redled, HIGH);
    digitalWrite(greenled, LOW);
  }
  else
  {
    digitalWrite(buzzerPin, LOW);
    digitalWrite(greenled, HIGH);
    digitalWrite(redled, LOW);
  }
}
Building a Fire Detection System
Step-by-Step Guide
- Assemble the Arduino and flame sensor according to the wiring diagram
- Upload the Arduino sketch
- Test the setup with a lighter or candle at a safe distance
- Adjust the sensor’s sensitivity if necessary
Calibration and Sensitivity Adjustment
Proper calibration is key:
- Use the onboard potentiometer to adjust sensitivity
- Test in various light conditions to avoid false positives
Enhancing the System
To make your fire detection system more advanced:
- Add a GSM module to send SMS alerts
- Integrate with an IoT platform for remote monitoring
- Control external devices like sprinklers via a relay module
Practical Applications and Projects
Here are some real-world uses for your Arduino flame sensor system:
- Early fire detection in homes, especially near kitchens and fireplaces
- Fire monitoring in industrial plants dealing with flammable materials
- Fire-fighting robots that autonomously detect and respond to fires
Troubleshooting Common Issues
Sensor Not Detecting Flame
- Ensure proper wiring
- Check sensor power supply
- Verify Arduino code and sensor thresholds
False Alarms
- Adjust sensor sensitivity to minimize ambient light interference
- Shield the sensor if necessary
Hardware and Wiring Problems
- Double-check all connections
- Confirm that components are not damaged
Safety Considerations and Best Practices
When using DIY fire detection systems:
- Regularly test the sensors
- Do not fully rely on DIY systems for critical applications
- Understand that Arduino flame detectors are supplementary, not replacements for certified fire alarms
FAQs
How does an Arduino flame sensor work?
It detects infrared light from a flame and sends a signal to Arduino to trigger actions like activating alarms.
Can a flame sensor detect smoke?
No, flame sensors detect light from flames, not smoke. Smoke detection requires a different sensor, such as a smoke detector.
What is the range of a typical flame sensor?
Most flame sensors have a range of 80cm to 100cm depending on the sensitivity and environment.
How to calibrate a flame sensor with Arduino?
Use the potentiometer on the sensor module to adjust sensitivity and test using a controlled flame.
Can I use multiple flame sensors with one Arduino?
Yes, you can connect multiple sensors to different pins and monitor them independently through your Arduino sketch.
How to prevent false triggers in flame detection systems?
- Adjust sensor sensitivity
- Shield the sensor from ambient light sources
- Position the sensor properly away from windows and reflective surfaces
What are the differences between analog and digital outputs in flame sensors?
- Digital output: Triggers a HIGH/LOW signal when a flame is detected
- Analog output: Provides a variable voltage based on flame intensity
Is it safe to use DIY flame detectors in homes?
They can be used for experimental or supplementary purposes, but should not replace certified fire alarm systems.
Conclusion
In conclusion, using an Arduino flame sensor for building a fire detection system offers an accessible and cost-effective solution for various applications, from home safety to industrial monitoring. The simplicity of integrating a flame sensor with an Arduino allows hobbyists and engineers alike to create customized systems suited to their needs. Whether it’s triggering an alarm in case of a fire or sending remote notifications through IoT integration, the possibilities are vast.
The combination of flame sensors and Arduino not only enhances safety but also serves as an excellent learning tool for those exploring electronics and automation. With easy-to-follow steps for assembly and programming, even beginners can set up their own detection systems and gain hands-on experience in sensor integration, calibration, and troubleshooting.
While DIY fire detection systems based on Arduino can be reliable for small-scale or experimental use, it’s essential to remember that they should not replace certified commercial fire alarms, especially in critical environments. Regular testing and calibration are necessary to ensure proper function. As technology continues to evolve, integrating flame sensors with advanced features like GSM alerts or IoT monitoring can further enhance the effectiveness and versatility of your fire detection system.