
Table of Contents
Introduction
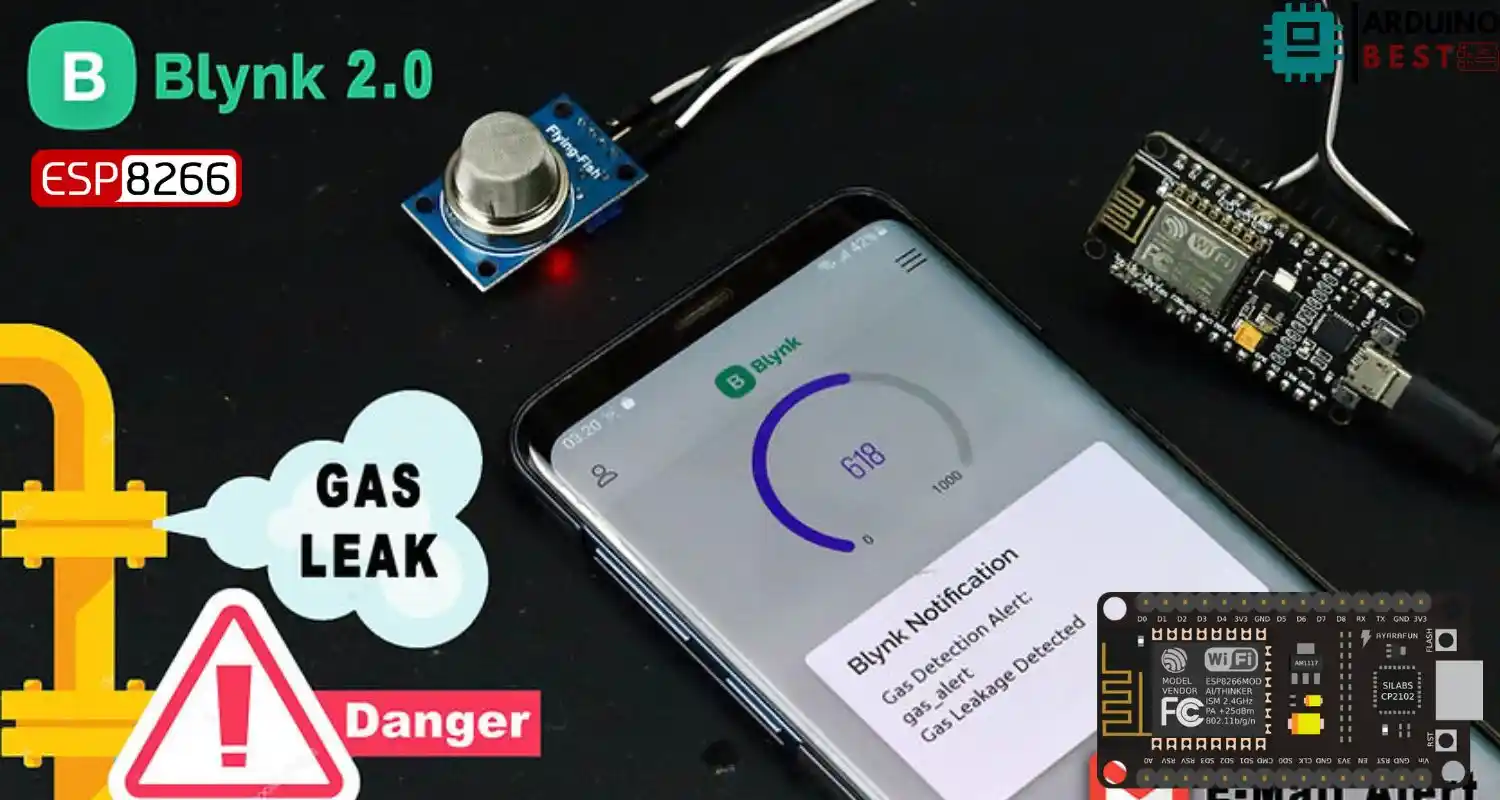
Gas leaks and smoke-related hazards pose significant threats in both residential and industrial settings. Early detection of these threats can prevent property damage, environmental pollution, and even save lives. Integrating an ESP8266 microcontroller with an MQ2 gas sensor creates a cost-effective and reliable detection system that can alert users in real-time. This article explores the components, setup, and benefits of using the ESP8266 MQ2 gas leakage smoke detection system.
Understanding the MQ2 Gas Sensor
The MQ2 sensor is widely used for detecting flammable gases and smoke. It can sense gases like LPG, propane, methane, hydrogen, alcohol, and carbon monoxide.
- Pin Configuration:
- VCC: Power supply (5V)
- GND: Ground
- DO: Digital output
- AO: Analog output
- Working Principle: Detects gas concentrations through changes in resistance.
- Warm-up Time: Needs 24-48 hours for accurate calibration initially.
You can learn more about the MQ2 sensor’s specifications from the MQ2 Gas Sensor Datasheet.
Overview of the ESP8266 Microcontroller
The ESP8266 is a low-cost Wi-Fi-enabled microcontroller ideal for IoT applications. It supports numerous digital and analog interfaces and is compatible with the Arduino IDE.
- Key Features:
- Wi-Fi connectivity
- GPIO support
- Low power usage
- Popular Variants:
- NodeMCU
- Wemos D1 Mini
For detailed tutorials on how to use ESP8266 with gas sensors, refer to Newbiely’s ESP8266 Gas Sensor Guide.
Components Required
To build the system, you’ll need:
- ESP8266 board (e.g., NodeMCU)
- MQ2 gas sensor
- Breadboard and jumper wires
- Buzzer module or active alarm
- LED indicators
- 5V power supply
Circuit Diagram and Wiring
Correct wiring is essential for system stability:
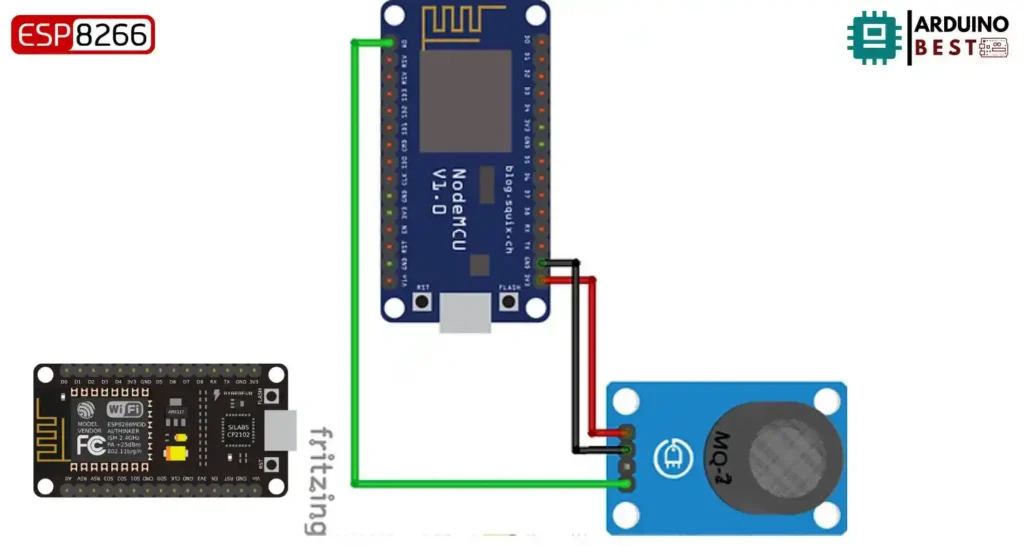
- Connect MQ2 AO to ESP8266 analog pin
- Connect MQ2 DO to ESP8266 digital pin
- Buzzer to ESP8266 digital output
- LED indicators to digital pins
- Power MQ2 using 5V and GND from ESP8266
Use a Fritzing diagram to visualize this connection for improved accuracy.
Programming the ESP8266
The system is programmed using the Arduino IDE:
- Setup Requirements:
- Install ESP8266 board manager URL in Arduino IDE
- Include necessary libraries (e.g., WiFi, Blynk)
- Basic Code Structure:
- Read analog and digital signals from MQ2
- Trigger buzzer and LEDs when thresholds are surpassed
- Display sensor values via serial monitor
Example snippet:
//Change Blynk Authenticaation Details
#define BLYNK_TEMPLATE_ID "ABPLmPQCdrMg"
#define BLYNK_DEVICE_NAME "Gas Detection Alert"
#define BLYNK_AUTH_TOKEN "fRiTEoa3v1QV9UDShh4gtfgbs34oM81i"

#define BLYNK_PRINT Serial
#include <ESP8266WiFi.h>
#include <BlynkSimpleEsp8266.h>


char auth[] = BLYNK_AUTH_TOKEN;

char ssid[] = "Wifi Name";  // Enter your wifi name
char pass[] = "Wifi Password";  // Enter your wifi password
int smokeA0 = A0;
int data = 0;
int sensorThres = 100;


BlynkTimer timer;

void sendSensor(){

 int data = analogRead(smokeA0);
 Blynk.virtualWrite(V0, data);
  Serial.print("Pin A0: ");
  Serial.println(data);


  if(data > 999)     // Change the Trashold value
  {
    Blynk.email("[email protected]", "Alert", "Gas Leakage Detected!");
    Blynk.logEvent("gas_alert","Gas Leakage Detected");
  }
}

void setup(){
  pinMode(smokeA0, INPUT);
   Serial.begin(115200);
  Blynk.begin(auth, ssid, pass);
  //dht.begin();
  timer.setInterval(2500L, sendSensor);
}

void loop(){
  Blynk.run();
  timer.run();
}
Integrating with IoT Platforms
The ESP8266 makes it easy to enable remote monitoring:
- Using Blynk App:
- Create a dashboard
- Add widgets to monitor gas levels
- Link sensor values to visual outputs
- Using IFTTT for Alerts:
- Set triggers based on gas values
- Receive SMS or email notifications instantly
Calibration and Testing
Proper calibration ensures accurate detection:
- Expose the MQ2 to known gas levels
- Adjust the onboard potentiometer for sensitivity
- Test system response with controlled smoke/gas releases
Safety Considerations
To ensure long-term reliability:
- Install sensors near gas-prone areas
- Avoid high-moisture zones
- Test the system periodically
- Replace MQ2 sensor after 2 years or as needed
Applications and Use Cases
This system is ideal for:
- Residential kitchens and gas-powered homes
- Industrial storage facilities and plants
- Automotive environments to detect fuel leaks
Frequently Asked Questions
How does the MQ2 sensor detect gas? It senses resistance changes in its sensitive layer due to the presence of specific gases.
Can the ESP8266 support multiple sensors? Yes, multiple analog and digital sensors can be managed with code modifications.
What is the typical lifespan of an MQ2 sensor? Approximately 2 years under average usage.
Do I need internet for the system to work? Not for local alarms, but necessary for remote alerts and monitoring.
How to calibrate the MQ2 sensor? Expose the sensor to a known gas concentration and fine-tune the potentiometer until readings stabilize.
Conclusion
Combining the ESP8266 with an MQ2 gas sensor creates an affordable and reliable detection system. Whether used in homes or industries, it enhances safety by providing real-time alerts and remote monitoring. Regular maintenance and calibration will ensure the system functions optimally and continues to safeguard your environment.
Projects ESP8266 nodemcu
1- ESP8266 NodeMCU: A Comprehensive Guide to IoT Development
2- Control LED with ESP8266 NodeMCU: A Beginner’s Guide
3- Integrating a Joystick with ESP8266 NodeMCU: A Comprehensive Guide
4- esp8266 nodemcu with Flame Sensor
5- ESP8266 NodeMCU with Heartbeat Sensor
6- ESP8266 NodeMCU with KY-027 Magic Cup Light
7- ESP8266 NodeMCU with Hall Magnetic Sensor
8- ESP8266 NodeMCU with relay module 5v
9- ESP8266 NodeMCU with Linear Hall Sensor