Table of Contents
Introduction
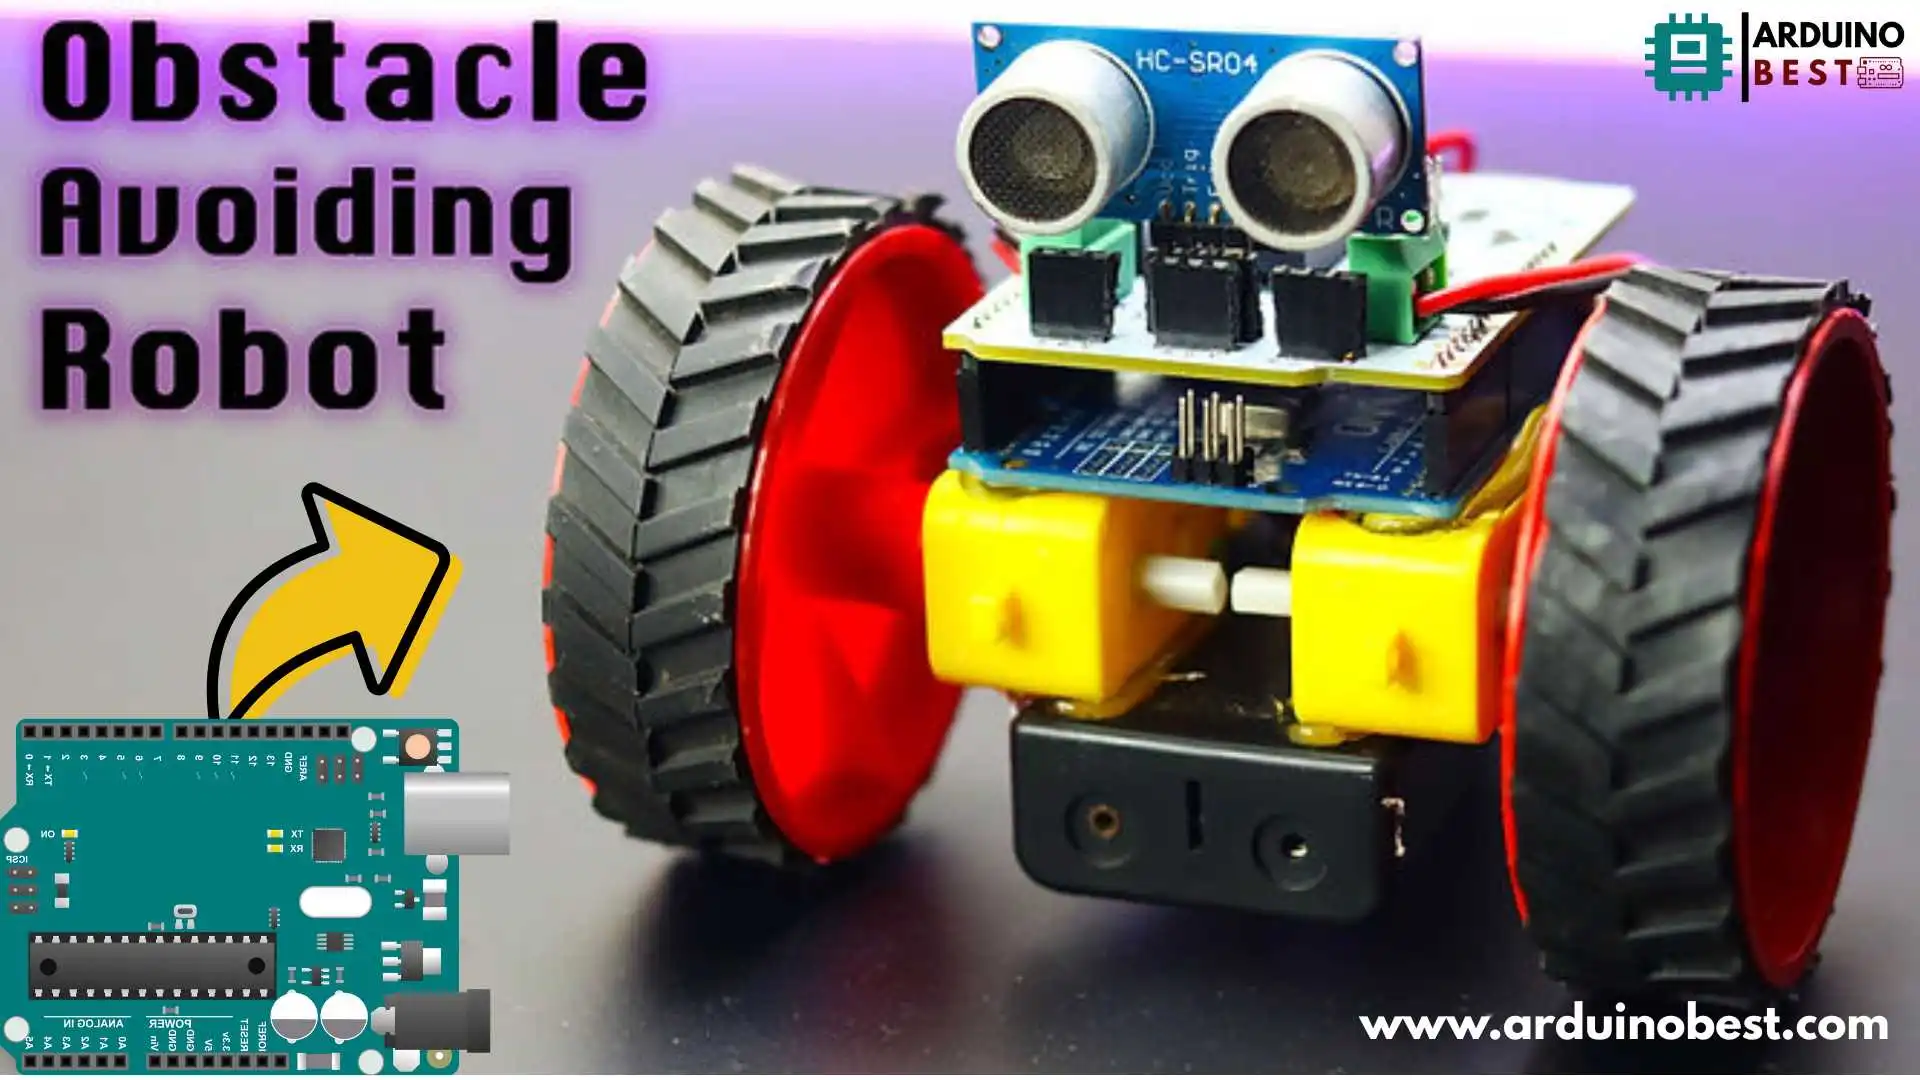
In the world of robotics, an obstacle-avoiding robot is one of the most exciting and fundamental projects. These robots use sensors to detect obstacles and automatically change direction without user intervention. This tutorial will guide you through building an Arduino-based obstacle-avoiding robot using the L293D motor driver shield.
By using Arduino Uno, ultrasonic sensors, and the L293D shield, we will create a functional autonomous robot that navigates around obstacles efficiently. This project enhances understanding of microcontrollers, sensor integration, and motor control in real-world robotics.
Components Required
Before starting, gather the necessary components:
1. Hardware Components
- Arduino Uno – The microcontroller controlling the robot.
- L293D Motor Driver Shield – Enables motor control using Arduino.
- Ultrasonic Sensor (HC-SR04) – Detects obstacles.
- DC Motors & Wheels – Moves the robot.
- Chassis – Holds all components.
- Jumper Wires & Battery Pack – Provides connections and power.
2. Software Requirements
- Arduino IDE – To write and upload code.
- Servo and Ultrasonic Libraries – Essential for controlling components.
For an in-depth guide on Arduino Uno and its capabilities, refer to Arduino Official Documentation.
Circuit Design and Wiring
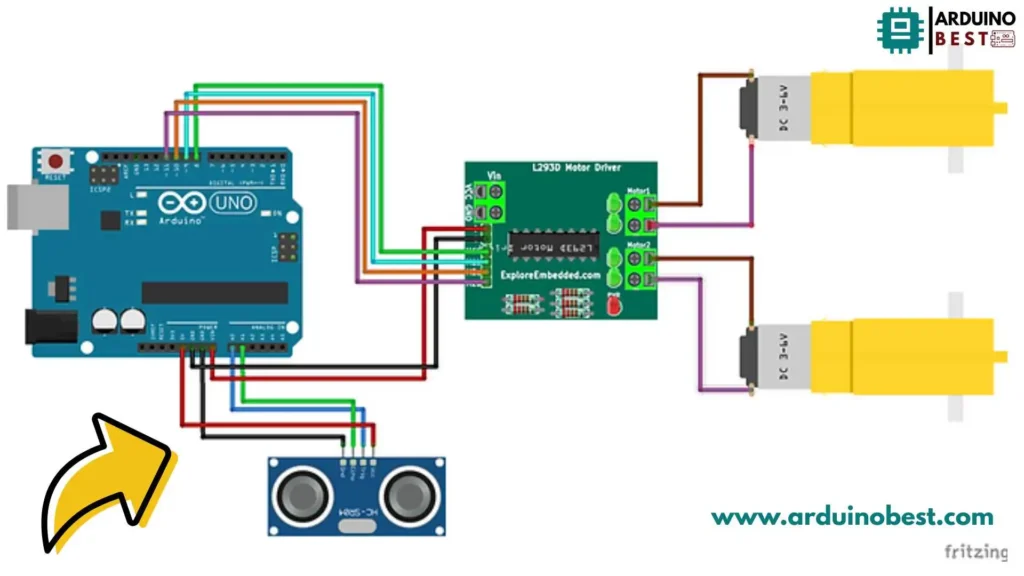
Connecting the L293D Motor Driver Shield to Arduino

- Insert the L293D shield onto the Arduino Uno.
- Ensure all pins align correctly.
Wiring the Ultrasonic Sensor (HC-SR04)
| Ultrasonic Sensor Pin | Arduino Pin |
|---|---|
| VCC | 5V |
| GND | GND |
| Trig | Digital 9 |
| Echo | Digital 10 |
Connecting the Servo Motor
| Servo Motor Pin | Arduino Pin |
|---|---|
| VCC | 5V |
| GND | GND |
| Signal | Digital 6 |
For a step-by-step wiring tutorial, check out Electronics Hub.
Arduino Code for Obstacle Avoidance
This code reads ultrasonic sensor data and controls motor movement accordingly:
const int RMF = 9;
const int RMB = 10;
const int LMF = 11;
const int LMB = 8;

const int trigPin = A0;
const int echoPin = A1;

void setup()
{
  pinMode(trigPin, OUTPUT);
  pinMode(echoPin, INPUT);
  pinMode (RMF, OUTPUT);
  pinMode (RMB, OUTPUT);
  pinMode (LMF, OUTPUT);
  pinMode (LMB, OUTPUT);
}
long duration, distance;

void loop()
{
  digitalWrite(trigPin, LOW);
  delayMicroseconds(2);
  digitalWrite(trigPin, HIGH);
  delayMicroseconds(10);
  digitalWrite(trigPin, LOW);
  duration = pulseIn(echoPin, HIGH);
  distance = duration/58.2;
  if(distance<30)                  //  When distance less than 20cm -> Turn Left
    {
      digitalWrite(RMF, LOW);
      digitalWrite(RMB, HIGH);
      digitalWrite(LMF, LOW);
      digitalWrite(LMB, HIGH);
      delay(200);
      digitalWrite(RMF, HIGH);
      digitalWrite(RMB, LOW);
      digitalWrite(LMF, LOW);
      digitalWrite(LMB, HIGH);
      delay(1000);

    }

  else
    {
      digitalWrite(RMF, HIGH);
      digitalWrite(RMB, LOW);
      digitalWrite(LMF, HIGH);
      digitalWrite(LMB, LOW);
    }
  delay(100);
}
Understanding the Obstacle Avoidance Algorithm
- Sensor Detection:
- The ultrasonic sensor emits sound waves.
- It calculates the time taken for waves to return.
- If an object is closer than 20 cm, the robot stops and changes direction.
- Decision Making:
- If an obstacle is detected:
- Stop motors.
- Rotate sensor left and right to find a clear path.
- Move in the direction with maximum clearance.
- If an obstacle is detected:
Testing and Troubleshooting
Testing the Robot
- Place the robot in an open space.
- Observe how it reacts to different obstacles.
Common Issues and Fixes
- Sensor Not Detecting Obstacles:
- Check connections and sensor orientation.
- Motors Not Moving:
- Verify L293D shield connections and power supply.
- Robot Moves Erratically:
- Calibrate the servo and ultrasonic sensor.
Enhancements and Future Improvements
1. Adding More Sensors
- Use Infrared (IR) Sensors for better detection.
- Install multiple ultrasonic sensors for 360-degree coverage.
2. Remote Control Functionality
- Integrate Bluetooth or Wi-Fi modules.
- Control the robot using a smartphone app.
3. Machine Learning-Based Obstacle Avoidance
- Implement AI-powered navigation using Raspberry Pi.
- Enhance decision-making efficiency.
For more about robotics automation, visit MIT OpenCourseWare.
FAQs
1. Can I use a different motor driver instead of L293D?
Yes, L298N is another great alternative that provides higher power output.
2. How can I improve obstacle detection accuracy?
- Use multiple sensors.
- Fine-tune sensor positioning and sensitivity.
3. Can I make this robot wireless?
Yes, by adding a Bluetooth module (HC-05), you can control it via a smartphone.
4. What is the best power supply for this robot?
A 7.4V Li-ion battery provides optimal performance and longevity.
Conclusion
Building an Arduino obstacle-avoiding robot using the L293D motor driver shield is an excellent way to learn about robotics, automation, and embedded systems. With additional enhancements, this project can evolve into an AI-powered autonomous robot.
Start experimenting today, and take your robotics skills to the next level! 🚀
Arduino Projects:
1- Complete Guide for DHT11/DHT22 Humidity and Temperature Sensor With Arduino
2- DHT11 – Temperature and Humidity Sensor
3- DHT22 – Temperature and Humidity Sensor (more accurate than DHT11)
4- BMP180 – Barometric Pressure and Altitude Sensor
5- BMP280 – Barometric Pressure & Temperature Sensor
6- BME280 – Temperature, Humidity, and Pressure Sensor
7- Arduino Flex Sensor Controlled Robot Hand
8- Arduino ECG Heart Rate Monitor AD8232 Demo
9- Arduino NRF24L01 Wireless Joystick Robot Car
10- Arduino Force Sensor Anti-Theft Alarm System
11- Arduino NRF24L01 Transceiver Controlled Relay Light
12- Arduino Rotary Encoder Controlled LEDs: A Complete Guide

